After taking the time to retrieve and setup SafeNet, you should be ready to start signing your application using your Extended Validated Code Signing certificate. If you have not already taken the time to perform the setup process, please refer back to our knowledge base article here.
Sign Tool
Signing using Sign Tool with your Extended Validated Code Signing certificate is not hard at all, but due to the differences in the process, our team has highlighted the process for you below to ensure that signing goes off without a hitch.
Prerequisites
The below steps assume the following has already been completed.
- You’ve already successfully built and compiled your application.
- You’ve already completed the setup process of SafeNet
- You are on a Windows computer
- You installed a Windows Development Kit
Steps to Sign
- Plug your Token into your computer.
- Open SafeNet Tools
- Open Command Prompt
- Input the following command below:
signtool sign /tr http://timestamp.comodoca.com /td sha256 /fd sha256 /a "Path_to_the_file_you_wish_to_sign "
- SafeNet should open with a prompt asking users to input your password for the token.
- After successfully inputting the password your application will be successfully signed.
At this point, you’re all set to start distributing your application to your end-users! For those wishing to check that the application was successfully signed, please see the steps below.
Checking your Signed Application
For those new to signing, it’s best to check that your application has successfully been signed to prevent any headaches during the distribution process. Follows the steps below to check that your application was signed.
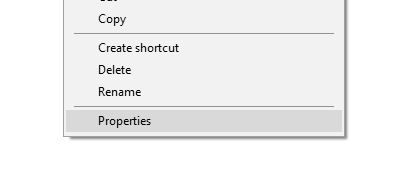
- Go to the folder of the application that you used in the above command
- Right-click the application and select “Properties”
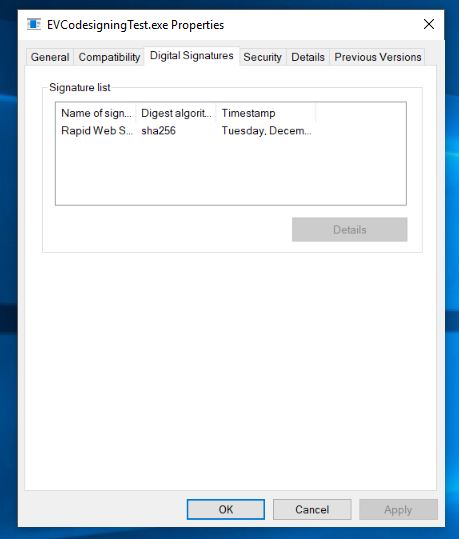
- Once the properties window has opened click the menu labeled “Digital Signatures,” which will showcase your company’s code signing certificate.
- If for some reason you do not see the menu labeled “Digital Signatures”, it is recommended that you proceed back to the tool used to sign as the application is not currently signed.
After confirming that your Extended Validated Code Signing is appearing on your application, you can now start packaging up your application for distribution! If you have any questions or issues, please reach out to our wonderful team of experts