The following instructions will guide you through the CSR generation process on Microsoft Exchange 2016. To learn more about CSRs and the importance of your private key, reference our Overview of Certificate Signing Request article. If you already generated the CSR and received your trusted SSL certificate, reference our Exchange 2016 SSL Installation Instructions and disregard the steps below.
1. Login to Exchange Admin Center (EAC)
Use a web browser to navigate to the URL of your server, i.e. https://localhost/ecp
On the EAC login page, enter your domain or username and password and sign in.
2. Navigate to “Certificates”
In EAC, on the left-hand sidebar menu, click Servers, then on the menu on top of the page, click Certificates.
On Certificates page, use the Select server menu to pick your Exchange 2016 server, then click the + symbol.
3. Create New Request
In the new Exchange certificate wizard, select Create a request for a certificate from a certification authority, then click Next.
4. Enter Friendly Name
Type a Friendly name for this certificate. The friendly name is used to distinguish the certificate from other certificates with the same domain name and is not included in the certificate file.
It’s recommended to include the date and certificate issuer in the friendly name so it can be easily identified.
5. Indicate if certificate is Wildcard
If you are not creating a CSR for a Wildcard SSL certificate, click next.
If you are creating a Wildcard SSL CSR, check Request a wildcard certificate.
The Root domain should then follow the wildcard format, e.g. *.domain.com
6. Select which server to save request onto
Store the certificate request on this server: click Browse and select the server where the certificate request should be stored. Click next.
7. Specify Domains
Select domains to include on the SSL certificate:
If you are creating a wildcard SSL CSR, skip this step and click Next.
Select the domains you want included on your SSL certificate.
IMPORTANT: Adding additional domains on your CSR will not automatically include them on the certificate! You must list the domains on your SSL order form during the online generation step as well.
Click next and the wizard will populate a list with suggested domains. You do not need to edit the list of domains on this page, it can be edited on the next page.
On the next page, you may add, edit, remove, or select the domains to be included on the SSL certificate. Then click Next.
8. Enter the CSR details
Specify information about your organization:
Organization name: Type your company’s registered name. If there is no associated company, type your domain, or type None.
Department name: Type your department, if applicable.
City/locality: Type the city/locality where you are located.
State/province: Type the state, province, or region where you are located. Do not use abbreviations.
Country: Select your country from the drop-down menu.
9. Save the CSR
Save the certificate request to the following file: enter a UNC path to save your CSR. You must be able to access this location to retrieve your CSR.
Click Finish to save the CSR to the specified UNC path.
10. Generate the Order
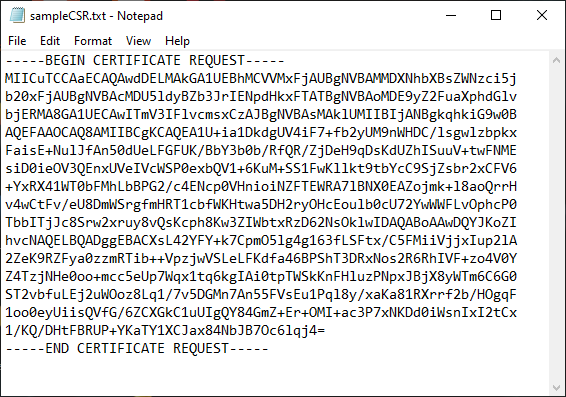
Open the CSR file in a text editor (Notepad). Copy the full text block, including —–BEGIN NEW CERTIFICATE REQUEST—– header and —–END NEW CERTIFICATE REQUEST—– footer.
Return to the Generation Form on our website and paste the entire CSR into the blank text box and continue with completing the generation process.
Upon generating your CSR, your order will enter the validation process with the issuing Certificate Authority (CA) and require the certificate requester to complete some form of validation depending on the certificate purchased. For information regarding the different levels of the validation process and how to satisfy the industry requirements, reference our SSL validation articles.
After you complete the validation process and receive the trusted SSL Certificate from the issuing Certificate Authority (CA), proceed with the next step using our SSL Installation Instructions for Microsoft Exchange 2016.