


 (No Ratings Yet)
End and Not So End Device Security Best Practices
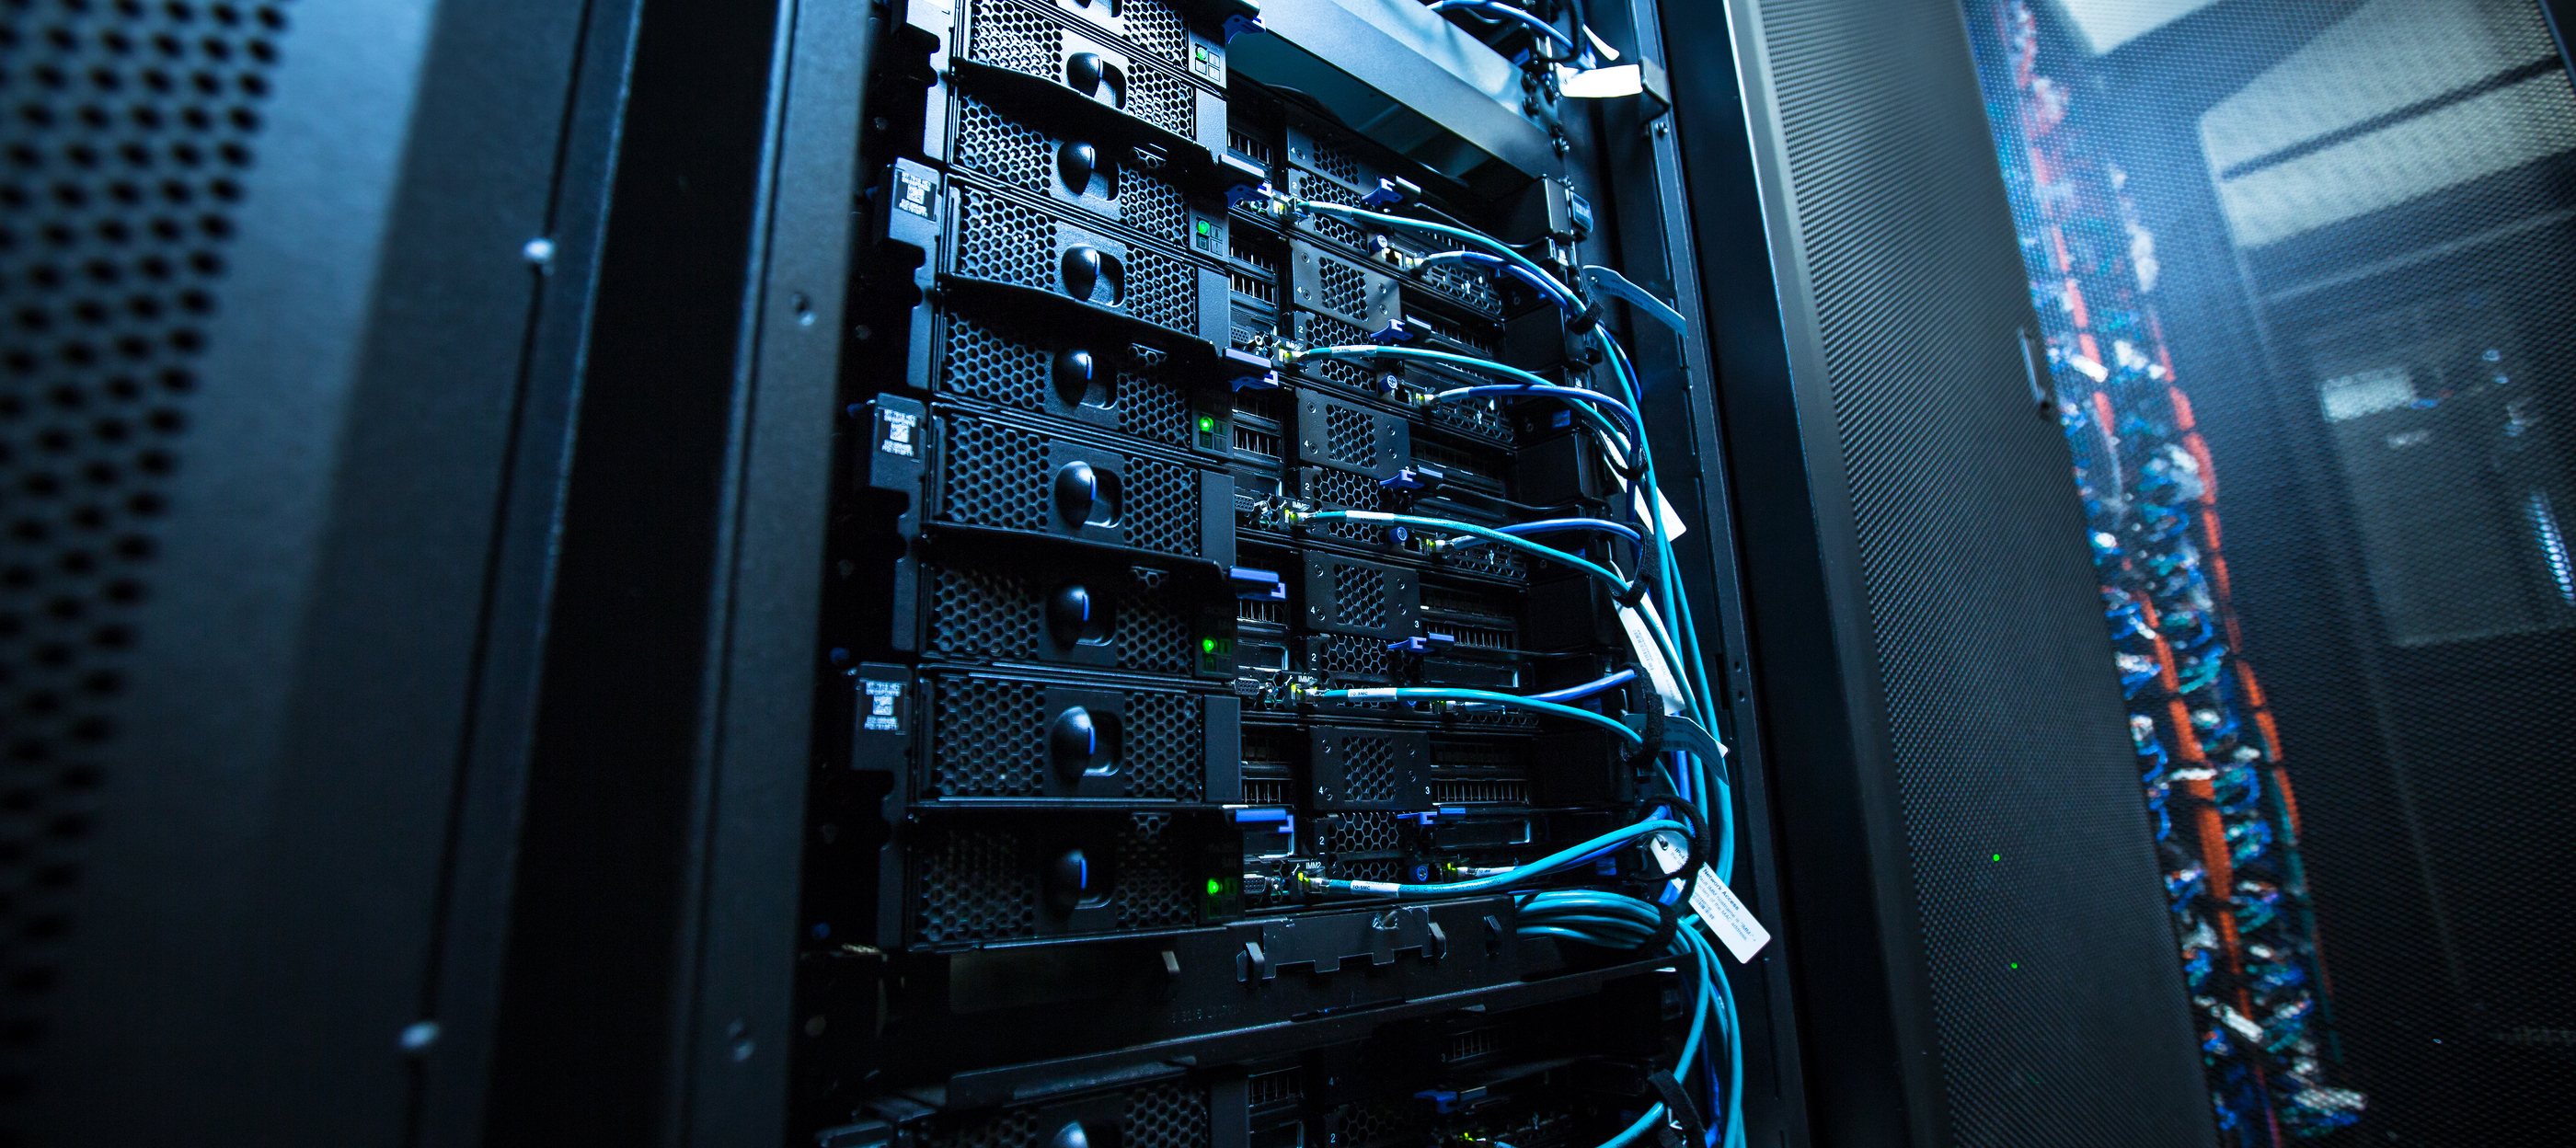
A crash course in securing network devices from the guy who secures all The SSL Store’s network devices
A short time back, my colleague and tech blogger extraordinaire, Patrick Nohe, wrote an interesting article about the importance of securing routers and other end devices as they can lead to security holes for malicious jerkbags that may be trying to port scan, execute Man in the Middle attacks (MitM), and various other techniques to attack end users. It was a great, high level, “be ye forewarned” type of article to get the message out to this lovely audience (that’s you, you lovely audience).
Mere minutes after that blog’s release, Patrick and I agreed that I should step in and provide a little more of a technical explanation for securing such devices. Now, if you expect that I’m about to go through each and every device ever made to go over what should be done to secure it, then you clearly have no sense of the relativity of our time based on this planet. Or, in other words, who has time for that?
My intention is to give you a high-level overview—to discuss functions and features that are common to most/all devices, which should be tended to. Most options that I mention will be specific to routers/firewalls but some of these settings could certainly apply to other devices such as IP cameras or other IoT devices.
Now here’s a quick disclaimer: the actual step by step instructions will also not be laid out because the hardware/firmware is all different. So, it may be best to refer to online manuals of how to get into the administrative pages of these devices and get explanations to the different settings since all the terminology might not be exactly the same.
One other thing to point out: the differences between the manufacturers and their default settings will be vast. Some manufacturers have certain functions/features that will be disabled, opened, etc, by default, while some other vendors may have those same settings enabled or configured for higher restriction by default.
Administration
This section looks into the administering of the device. This is quite different than the functionality of the device. There are often lots of options so let’s take a look at a few.
- Username/Password
- The credentials to get access to administer the device. As Patrick’s article mentioned, CHANGE THE DEFAULTS. It really is quite alarming how many people leave the authorization credentials as default. The username/password combo of admin/admin or admin/password are literally the first guess for most hackers and criminals.
- More often than not, the first time you access the device it will prompt you to change the password. You just have to access the administration portal of the device, which many people never do.
- Accessing the device usually entails opening a web browser on a connected (same local network) device and typing in the IP address of the device.
- Remote or WAN Access
- This option is used to enable access from a remote (non-local network) location.
- This is usually disabled and for good reason.
- If enabled, make sure the rest of the security settings are taken into account.
- Auto Logout
- When a user logs into the administration page, there is an idle timeout that will logout the user.
- This often is not configurable through any GUI.
- Enable Telnet/SSH
- Telnet and SSH is very dangerous though you kind of need to know what you are doing to actually do real damage.
- This likely won’t be enabled by default.
- Telnet/SSH could be the security hole that hackers might try and attack. If a sniffer/relayer were to be installed remotely, it would likely occur via Telnet/SSH.
- Allowable IP Address
- For predictable situations, this option can be a great friend.
- Should be able to apply Private or Public IP addresses and is used for what source IP addresses are allowed to communicate with this device.
- If Telnet/SSH is to be enabled, this option (when available) should be strongly considered.
- Save Configuration
- This is an important one. Since there are many, many changes that you may employ here, why not save those settings where they can be easily restored?
- Just Backup it. Swoosh.
- Login Attempts
- Another security-based feature here.
- This will lock out login attempts after a specified amount of failures.
- Helps prevent brute force attacks.
- There will often be a time limit to when attempts can be made.
- There is often an option to send notification, typically via email, when the lockout happens.
WiFi
There are some wireless options that need to be considered. Again, most of these will likely not be enabled by default but it should be addressed.
- Guest Network
- Patrick mentions this in his article. Guest networks are typically to be used in settings where there is a business. I’ve seen many routers that have it enabled by default.
- This is typically safe as that network is isolated from the other (main) networks but this is still a point of access. Anyone on this network should also not be able to get to the management page but it is difficult to say this is true across all devices.
- AP Isolation
- Depending on the scenario, this can be a great option. This basically says that no machines on the same wireless network can communicate with each other.
- In a guest network scenario, this works great. The Guest network option listed above has this option factored in.
- SSID
- This one should be fairly well known. Change the name of your wireless network. Don’t leave it default.
- Hide SSID
- This is a good option and is recommended in private settings. The idea here is that the network name (SSID) is not being advertised out.
- People wanting to connect to this hidden network would have to know the name of the SSID as well as any other authentication method that has been implemented.
- Authentication Method
- A few options here. This is also highly recommended. Without this being implemented, the wireless network would be open and would allow anyone within range to connect.
- New routers won’t offer WEP and maybe even WPA. WPA2 is going to be the best bet.
- Finally, WPA3 is coming after over a decade.
LAN (Layer 2 and Layer 3)
Combining the 2 layers on the Local Area Network seems to make sense, at least to me, the author of this blog post. This would handle everything downstream of the device and fall within the local scope.
- IP address
- Most devices will have a nice, boring default IP address that will likely be to the order of 192.168.1.x or something like 10.0.0.1
- Change the default IP, when available, to mix it up a little bit.
- For example, 192.168.1.254 would change the IP but keep it in the same subnet (192.168.1.x /24).
- Switch port control
- Disabling the switch ports on the router may be overkill for a home scenario, this will prevent someone from having an active port.
- This would call for physical connection to the port. This will likely not be a problem in a home scenario. Always great for an office coupled with a lock.
- DHCP Scope
- With the default IP scenario listed above, most DHCP services enabled will assign for much of the entire subnet.
- For example, DHCP Scope is set to 192.168.1.2 – 192.168.1.254.
- Shortening that, in a small network setting, such as home, may prevent unauthorized or unwanted devices from joining or out them.
- For example, change the scope to 192.168.1.10 – 192.168.1.30. Anything with an IP outside of that can be warranted as suspicious if not configured manually.
- DHCP MAC Assignment
- DHCP is enabled, by default, in most devices. This is fine in the case of small networks.
- If you don’t expect a lot of devices coming and going, you could add the common devices MAC addresses and deny everything else.
- This might be a bit of overkill, too, and difficult to manage but certainly would yield safe results.
- Some GUIs often will allow you to add a device based on the current DHCP list so you wouldn’t have to type out the MAC address for each device.
- DNS Server Assignment
- This will directly piggyback off of Patrick’s article. Verifying and assigning primary/secondary DNS to the DHCP service will ensure that DHCP clients will get the proper DNS service. That can help (not 100%) with MitM stuff, at least on the local network.
- With the default IP scenario listed above, most DHCP services enabled will assign for much of the entire subnet.
- Disabling the switch ports on the router may be overkill for a home scenario, this will prevent someone from having an active port.
- Most devices will have a nice, boring default IP address that will likely be to the order of 192.168.1.x or something like 10.0.0.1
WAN
To some degree, you will be at the mercy of the provider for how WAN is configured. Here are a few things to consider.
- Disable WAN Ping
- This is typically disabled by default.
- This will prevent people from pinging your device by public IP which would indicate that something is live.
- Just another tool to disable to slow down those peeps with bad intentions.
- DMZ
- DMZ, Demilitarized Zone, is actually a safety tool to help separate things from your precious downstream, firewalled network.
- The DMZ will keep a device or devices outside of the firewall so those devices are on their own. Good for testing or processes that may be inherently risky when you don’t want to expose the rest of your network.
- If you use it, just be careful about what you are using it for.
- VPN
- This might need its own section.
- Many end devices, such as a camera or IoT stuff, will have an option to manage those devices from the internet.
- I often disable the ability to access stuff from the public internet.
- I use VPN to get around that kind of stuff. That way, you are technically administering stuff from the local network and via the VPN tunnel.
- My router has an option for OpenVPN.
- I use certificates to connect the VPN which includes username and password.
- If you don’t have those 3 things: certificate, username and password you won’t be able to connect to the VPN.
Firewall
The heart of security. Don’t ignore this. The manufacturers almost force you not to ignore this, or, more accurately, employ this. Some of this stuff is active by default.
- SPI Firewall
- Many commercial routers/devices have a SPI (Stateful Packet Inspection) option.
- This is almost always enabled by default.
- SPI is not terribly complex but it is effective for low level stuff.
- It is not a great option for high level attacks.
- Service/Protocol Firewall
- This can be very complicated. Be careful here.
- Specific processes/protocols can be specified here for allow/deny.
- Many options and conditions can be set here: source IPs, destination IPs, port/port ranges
A final word on securing network devices
One other thing that should be pointed out is that most of these devices have logs of some kind that can certainly give important information in regards to security. This includes, but is not limited to, stuff like: who logged in, failed login attempts, what IP the source was from, settings changes, wireless log, and connections logs. This would be able to indicate what problems a device has, who the threat is, the timing on all of this and what to do to patch things up. As previously mentioned, some manufacturers have things on lock down when you open the box (I’m looking at you SonicWall), so, just be aware of what you have and what you are trying to protect.
I haven’t said this in a while, but, stay safe and happy scrutinizing!

5 Ways to Determine if a Website is Fake, Fraudulent, or a Scam – 2018
in Hashing Out Cyber SecurityHow to Fix ‘ERR_SSL_PROTOCOL_ERROR’ on Google Chrome
in Everything EncryptionRe-Hashed: How to Fix SSL Connection Errors on Android Phones
in Everything EncryptionCloud Security: 5 Serious Emerging Cloud Computing Threats to Avoid
in ssl certificatesThis is what happens when your SSL certificate expires
in Everything EncryptionRe-Hashed: Troubleshoot Firefox’s “Performing TLS Handshake” Message
in Hashing Out Cyber SecurityReport it Right: AMCA got hacked – Not Quest and LabCorp
in Hashing Out Cyber SecurityRe-Hashed: How to clear HSTS settings in Chrome and Firefox
in Everything EncryptionRe-Hashed: The Difference Between SHA-1, SHA-2 and SHA-256 Hash Algorithms
in Everything EncryptionThe Difference Between Root Certificates and Intermediate Certificates
in Everything EncryptionThe difference between Encryption, Hashing and Salting
in Everything EncryptionRe-Hashed: How To Disable Firefox Insecure Password Warnings
in Hashing Out Cyber SecurityCipher Suites: Ciphers, Algorithms and Negotiating Security Settings
in Everything EncryptionThe Ultimate Hacker Movies List for December 2020
in Hashing Out Cyber Security Monthly DigestAnatomy of a Scam: Work from home for Amazon
in Hashing Out Cyber SecurityThe Top 9 Cyber Security Threats That Will Ruin Your Day
in Hashing Out Cyber SecurityHow strong is 256-bit Encryption?
in Everything EncryptionRe-Hashed: How to Trust Manually Installed Root Certificates in iOS 10.3
in Everything EncryptionHow to View SSL Certificate Details in Chrome 56
in Industry LowdownA Call To Let’s Encrypt: Stop Issuing “PayPal” Certificates
in Industry Lowdown